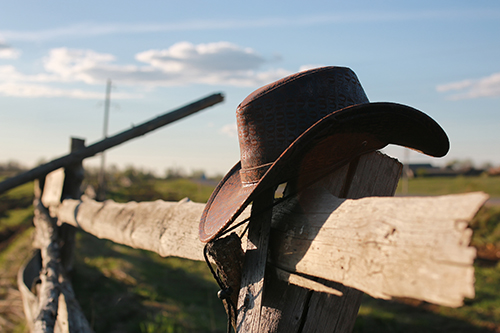
Get Your Hat Back in Shape
Mar 08, 2021

Farm life can be hard on your favorite cowboy hat. When exposed to heat and moisture, your hat will quickly lose its shape and fall flat. Luckily, there is a way to reshape your hat at home, and it is not as hard as you might think. Follow these simple steps to get your hat in better shape from the comfort of your own home.
First, use a sponge or soft bristle brush to remove any dust or dirt from your hat, starting on the crown and then moving counterclockwise around the brim. For best results, spray the hat with a stiffening spray before exposing it to steam to help the material hold its shape.
Make a DIY steamer by covering a pot of water with foil and placing it on your stove. Cut a small slit in the foil to release steam and bring the water to a boil. Now you are ready to begin the shaping process!
Hold the brim of your hat about six inches over the steam coming from the slit in your foil. Do not try to heat up the entire hat at once; rather, work in sections. As the brim of your hat absorbs the steam, it will become soft and supple, which will allow you to shape it however you like.
Reshape the sides of your hat by turning the hat on its side and pressing the brim against the flat surface of the counter. First, run your hand firmly against the edge of the brim to get rid of unwanted crinkles in the material.
Reform the upward curve of the brim by using your fingers to form a crease, making the crease more prominent near the front of the hat and letting it resolve as you get closer to the back. Patience is key during this phase – keep molding the material until the crease is as sharp or as rounded as you prefer.
Remember to make sure the edges are evenly raised on both sides. Sticking a pin into the front center of your hat may help you to visualize whether your sides are even.
Place the hat on a flat surface such as your counter and flatten the back of your hat by pressing on it firmly until the material begins to harden. You can do the same for the front of your hat to get a straight-edge.
Store your hat upside down on its crown after you are done so that gravity does not cause the sides to fall flat before they have completely cooled. Once it is dry, your newly shaped hat is ready to be worn once again.
Looking for the best hat tip of all? Head to your local Co-op for your hat care needs! Find the nearest Co-op location to you here!