Energy-Free Waterer Installation Tips
Jul 01, 2019

Energy-free waterers are popular on many livestock farms because of their convenience, efficiency, and ability to help prevent water from freezing during winter months and keep it cooler in summer. But before installing an energy-free waterer, you must do some planning to maximize its effectiveness.
Here are some tips, courtesy of our friends at Ritchie:
Water Supply Line:
A minimum 3/4’’ diameter horizontal and vertical water supply line is necessary; a 1’’ diameter line is recommended. Bury the horizontal water supply line 4’ deep or 1’ below the normal frost line depth, whichever is deeper. This will ensure your animals are getting warmer water in the winter and cooler water during the summer. A shut-off valve may be installed under the fountain for easier servicing.
Ritchie Thermal Tubes:
For optimum water supply line protection, use Ritchie Thermal Tubes. The tubes are available in 3 lengths and have the most favorable diameters to maintain temperature in the water line. Center the vertical water supply line in the tubes. Do not add insulation inside the tubes as it provides a path for frost. The tubes should reach at least 1’ below the normal frost line.
Concrete Platform:
Pour a concrete mounting platform that provides a 4-6’’ thick step 18” around the perimeter of the unit. An additional concrete extension all around and sloping away from the unit may be poured for improved footing and to aid in proper drainage. The platform must be level for the best operation of the fountain. For larger operations it is recommended to pour a concrete pad large enough for the drinking animal to stand on completely.
Anchor Locations:
Fasten fountain to the concrete mounting platform with stainless steel anchor bolts using all anchor locations provided on the fountain. Use the actual fountain being installed as the template for anchor bolt location.
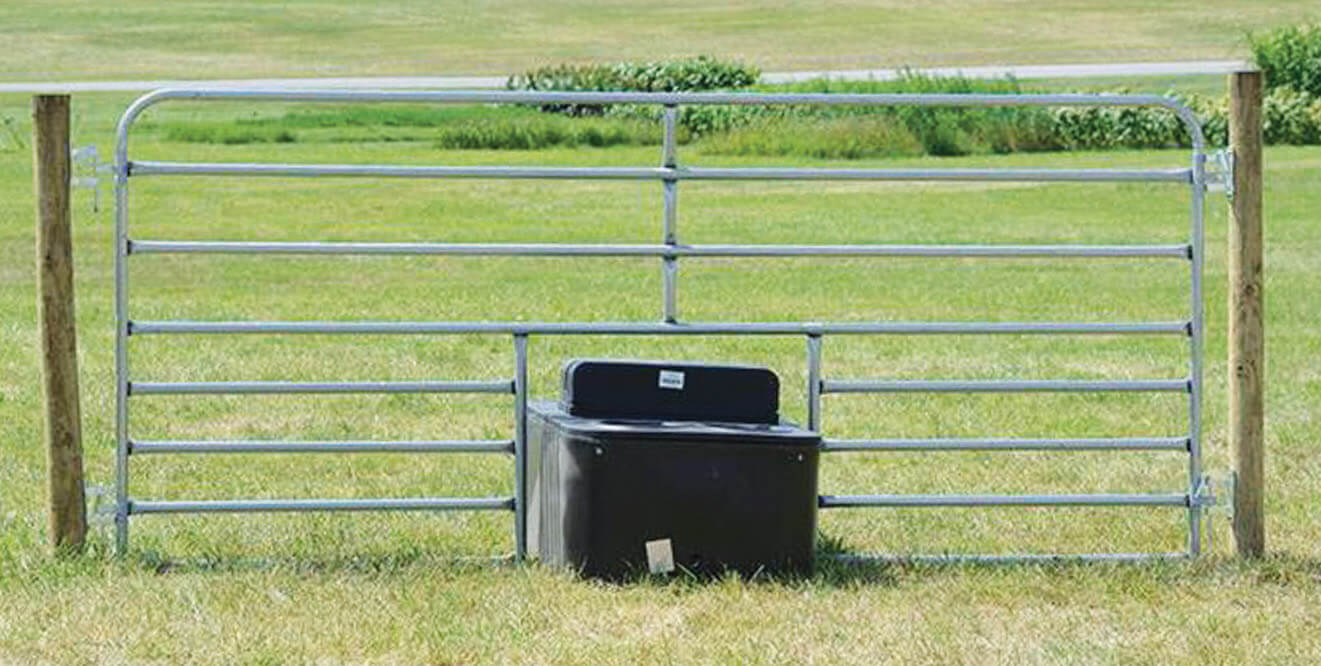
Co-op Waterer Panels, made right here in Tennessee at our Metal Fabrication Plant, make installing fence line waterers easy. These panels, clear coat galvanized for longer life, allow easy access to the waterer by simply pulling four pins. No more having to build and rebuild a fence section for access.
For help with waterers and Co-op Waterer Panels, visit with the professionals at your local Co-op.