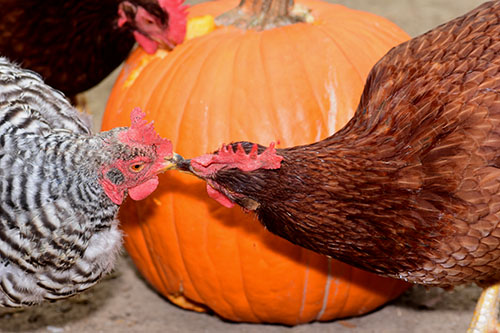
DIY Hanging Pumpkin Treat for Chickens
Nov 01, 2021

Do you know who loves pumpkins as much as you do? Your chickens! Since it’s right after Halloween, there tends to be leftover pumpkins lying around. Now is a great time to snag some deals on those delicious treats and stock up.
This is a simple project; you’re just hanging a pumpkin in your coop. Why hang the pumpkin instead of just putting it on the ground you might ask? Hanging the pumpkin will provide new and stimulating activities for your chickens.
During the winter months, as chickens spend more time in the coop, bad behaviors can set in very easily. Providing interesting and challenging activities can distract them from developing these negative behaviors. All you will need for this project is a pumpkin, rope or twine, a knife, and a drill.
Step 1: Drill a hole
First, drill a hole in the stem of your pumpkin. We recommend finding a pumpkin with a thick, sturdy stem so it can support its own weight. Drill a hole through the stem horizontally, as close to the base as possible. Thread your twine through the hole, doubling up the strands for extra strength if necessary, and tie the two ends together so that you can hang the pumpkin.
Step 2: Scrape off the pumpkin’s outer shell
Scraping off parts of the pumpkin’s outer shell will make it easier for your chickens to get to the insides and seeds of the pumpkin. The easiest way to do this is to use a serrated knife. You don’t have to take off all the skin, just enough for your chickens to be able to access the insides.
Step 3: Hang the pumpkin
Every coop layout is different, but find a beam, hook, or other mechanism to hang your pumpkin from. Make sure it is about 6 to 12 inches off the ground for the best access.
That’s it! We love how simple and easy it is to make this DIY treat for your flock. Your chickens will absolutely love it!
Remember, pumpkins are just a treat for chickens and should not be used as a replacement for a healthy diet. For chicken feed and other supplies, visit your local Co-op. For more content like this, check out the latest issue of the Cooperator.