A Quick Guide to Growing Potatoes
Mar 25, 2024

As the first hints of spring emerge, gardeners eagerly prepare their plots for a season of growth. Among the options for early planting, potatoes stand out as a versatile and rewarding crop. With a few simple steps, you can cultivate a bountiful harvest of these starchy delights right in your backyard. Keep reading for a quick guide to growing potatoes in the early spring.
Soil preparation
Potatoes thrive in cool weather and well-drained, loose soil with a slightly acidic pH ranging from 5.8 to 6.5. If your soil tends to be heavy or compacted, take the time to improve it by incorporating generous amounts of compost or other organic matter. This not only enhances soil structure but also provides essential nutrients for rigorous potato growth.
Planting
As soon as the soil becomes workable in the early spring, it’s time to plant your potatoes. Space the potato plants 12 to 14 inches apart in rows, ensuring they have ample room to spread their roots. Alternatively, consider growing potatoes in large pots filled with a nutrient-rich potting mix, providing a convenient option for those with limited garden space.
Care and maintenance
Once your potato plants reach a height of 8 inches, gently mound soil around the lower half of the stems to protect the developing tubers from sunlight. Repeat this process every 2 to 3 weeks to prevent the tubers from turning green, which can impart a bitter taste. Alternatively, some gardeners opt for a straw mulch to shield the tubers while also simplifying the harvesting process.
Feeding and watering
To maximize your potato harvest, ensure your plants receive consistent nutrition throughout the growing season. Consider using a continuous-release plant food specifically formulated for edibles to provide a steady supply of essential nutrients. Additionally, keep the soil consistently moist, especially during flowering and tuber formation, to prevent stunted growth and ensure optimal development.
Temperature management
Potatoes prefer moderate soil temperatures ranging from 60°F to 70°F for optimal tuber formation. Mulching the soil with straw or organic matter can help regulate soil temperature, preventing it from exceeding 80°F, which can halt tuber development. Research suggests that maintaining a 6-inch layer of straw can effectively reduce soil temperature by 10 degrees, creating a favorable environment for robust potato growth.
Harvesting and storage
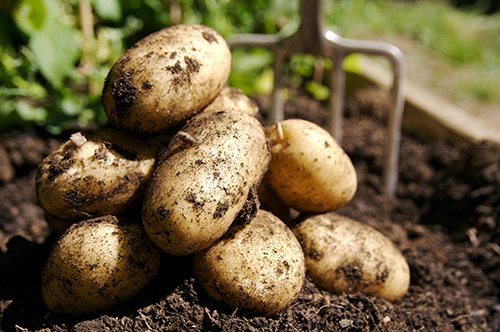
Approximately 2 to 3 weeks after the plants flower, you can begin harvesting new potatoes. Simply loosen the soil and the plants and gently lift the tubers from the ground. Avoid washing the potatoes if you plan to store them, as this can compromise their shelf life. Instead, allow them to cure in a humid environment at around 55°F for two weeks to develop tougher skin. Store your potatoes in a dark, cool location with high humidity to prevent sprouting.
By following these simple guidelines, you’ll be well-equipped for a successful potato harvest. Make sure to stop by your local Co-op for expert advice, quality supplies, and seed to help kickstart your journey. Roll up your sleeves, grab your gardening tools, and get ready to plant!
For more content like this, check out the latest issue of The Cooperator.