5 Tips for Trail Cameras

Aug 15, 2022


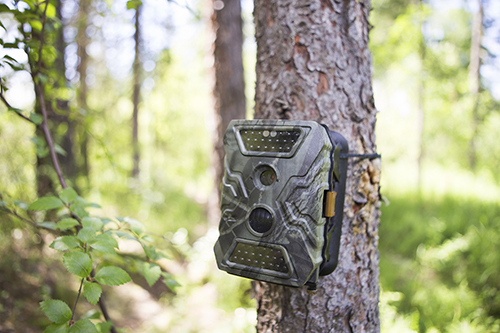
There’s no doubt that trail camera technology has become more and more advanced over the years. With higher image resolutions and longer detection ranges, trail cameras can be a useful tool in the hunter’s arsenal to gather intel on wildlife patterns and characteristics. If not properly positioned and cared for, though, it can be easy to miss out on the full benefits.
 
Listed below are five tips for trail camera usage that will help to produce better results:
 
  1. Mask your scent
Anything you touch can carry your scent for up to several days, acting as a deterrent to deer on high alert. When setting up or checking your cameras, wear rubber gloves and handle them as sparingly as possible. You may also spray an odor-elimination product on the camera to remove any lingering traces of human presence.
 
  1. Avoid the sun
Facing your camera into the sun will result in dozens of washed-out images and false triggers due to the heat and movement. It doesn’t help that deer activity is highest at dawn and dusk when the sun is apt to shine directly into the camera lens. To avoid having your valuable card space wasted, position your trail cameras facing north for clearer, more efficient imaging.
 
  1. Hang cameras high
Generally, you should hang a camera so that it is aligned with the center height of the animal’s body. For deer, this is roughly three feet. Some hunters prefer to hang it higher — between five and seven feet — and angle the lens down to get a better view of the buck’s rack and prevent deer from spooking at the flash. At whatever height you choose, watch for shrubs, tree limbs, or leaves that could obstruct the view of the camera.
 
  1. Make the deer stand still
The best photos of deer are taken when they are standing still. Make them pose for the camera by setting up a mineral lick, food plot, or other attractant — depending on what is legal in your area — in front of your camera. Because deer are likely to visit in herds, turn your sensitivity and picture frequency settings down to get more pictures of different deer.
 
  1. Leave it alone
Although it may be tempting to frequently check your camera for images, any trip you make into the woods disturbs the hunting area. Eventually, the wildlife action around your camera will slow down or cease altogether as deer look for more private areas. Consider retrieving your photos once every few weeks, or even monthly.
 
Your local Co-op is stocked with gear for the hunting season, including trail cameras, hunting blinds, game feeders, attractants, food plot mixes, gun gear, and more. Find the nearest location here.
 
For more content like this, check out the latest issue of The Cooperator.
 

Read More News

Sep 25, 2023
Planting food plots is the most popular wildlife management practice among landowners wanting to enhance the environment for deer. However, successful food plots require regular planting and management. Here are seven tips to consider:
 
Sep 18, 2023
As the first day of fall rolls around this weekend, it’s time to start preparing your lawn for the cooler season. Proper fall lawn care is essential for ensuring a healthy, lush, and vibrant yard come springtime.
Sep 11, 2023
Chrysanthemums are a fall staple. They pair perfectly with rocking chairs on the front porch, pumpkin decorations, and cool nights on the farm. As fall rolls around next week, use mums as a reliable source of color when the remaining summer flowers begin to fade.